
Green Screen Events: How it works
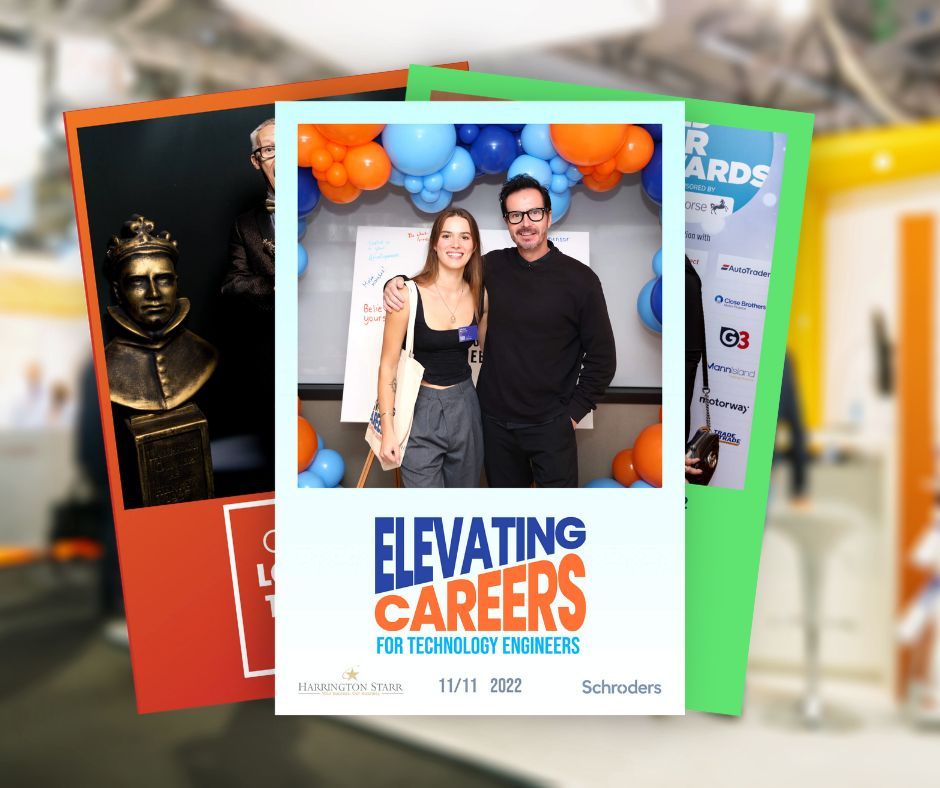
Make your photographs more immersive with Green Screen Photography
Green screen photography is an innovative and engaging way to capture the energy of any event. With a talented photographer at the helm, your guests can have fun posing for pictures with green screen technology that can transform them into any scene you desire. Whether it is a corporate gathering or a family reunion, having a professional photographer who understands how to use green screen technology can make any event even more memorable.
Green screen photography is popular with event photographers due to how it allows them the freedom to set up multiple backgrounds in one setup. Green Screen Photography also has many commercial applications, ranging from marketing materials to special events. Businesses often use green screen photography to create brochures with the company logo “floating” in front of a new background. It is also a popular way to create advertisements with people or products placed in front of stock images.
Virtual sets are being used now more than ever to develop newsreels and footage. Historically, television broadcasters appeared on the same backdrop every day. You can now utilize a green screen to photograph digital items, and then add them to the backdrop to make it seem like they're taking place elsewhere.
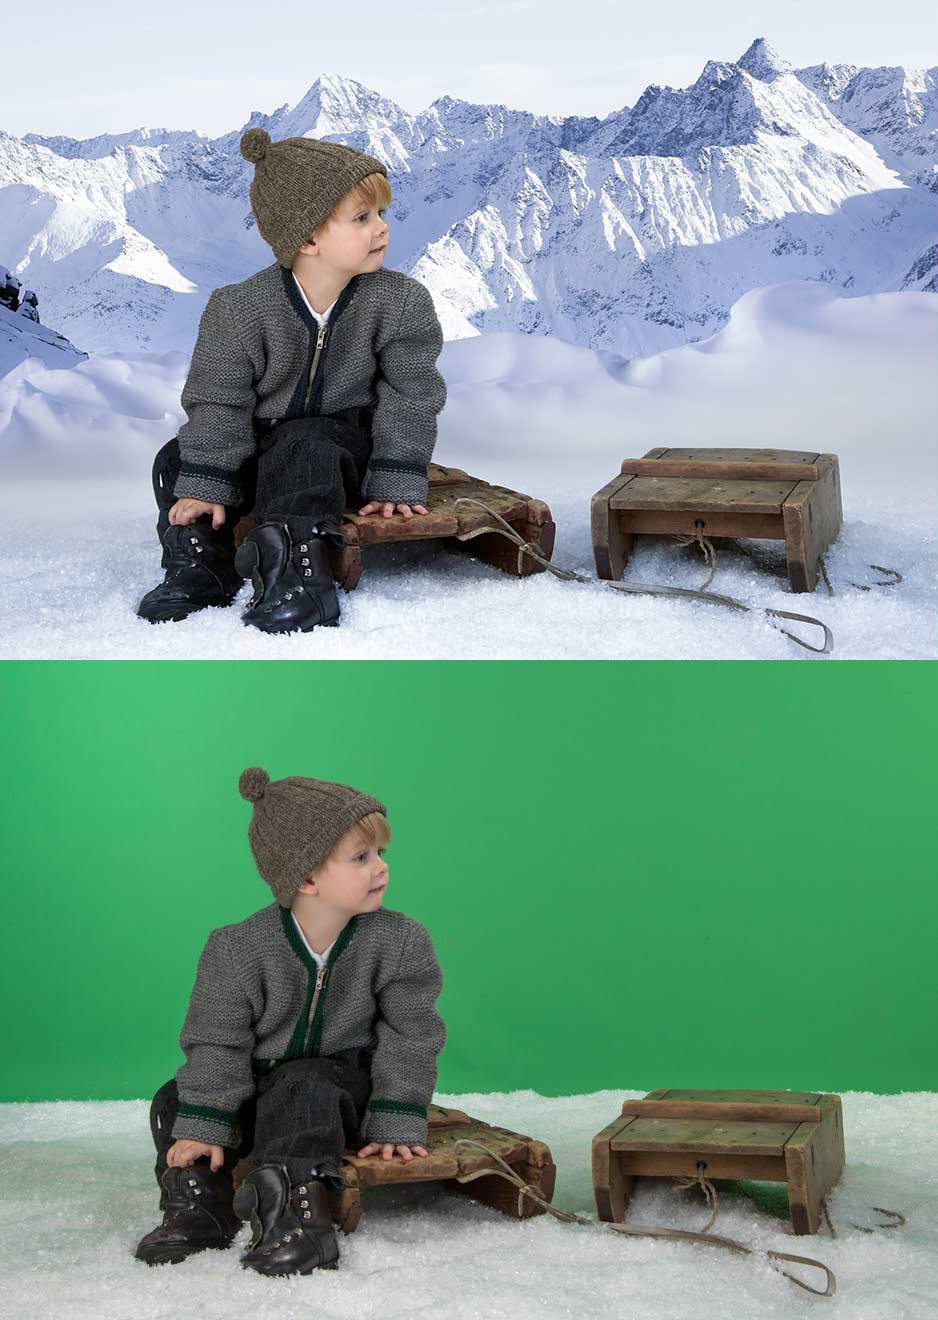
Green screen photography is a popular way for photographers to produce eye-catching images with stunning backgrounds. The process begins with taking a photo in front of a green screen and then using software to replace the background. This technique has become increasingly popular because it allows photographers to quickly create professional-looking images without extensive retouching or complicated setup.
The steps of green screen photography at events are explained below:
Step 1: Choose Background
A key element of the green screen photography process is choosing the right type of background, such as a natural landscape or an urban cityscape. To make sure that the transition from the green screen to the final image looks seamless, photographers must also ensure that their camera settings are accurate and that they use software that can accurately remove any unwanted elements from the original frame. Finally, once all these steps have been completed, the photographer can adjust any colour saturation levels or add other visual effects before exporting their final product.
When selecting a background for your green screen photo shoot, there are several factors to consider. You’ll want to make sure that your chosen background complements the subject matter and enhances its features. Additionally, take into account any props or objects within the frame; they should be complementing both the subject and background too.
Step 2: Set Up Equipment
To begin setting up your green screen equipment, you'll need to choose a seamless backdrop. The backdrop should be a large green cloth or paper background that won't distract from the subject of the photo. Once you've chosen your backdrop, hang it on a wall or use an adjustable stand so that it's securely in place. You'll also need to light the backdrop evenly and make sure there aren't any wrinkles or creases in it before taking pictures.
After setting up the green screen background, you'll want to add professional lighting to make sure your images are evenly lit with no shadows appearing on your subject's face.
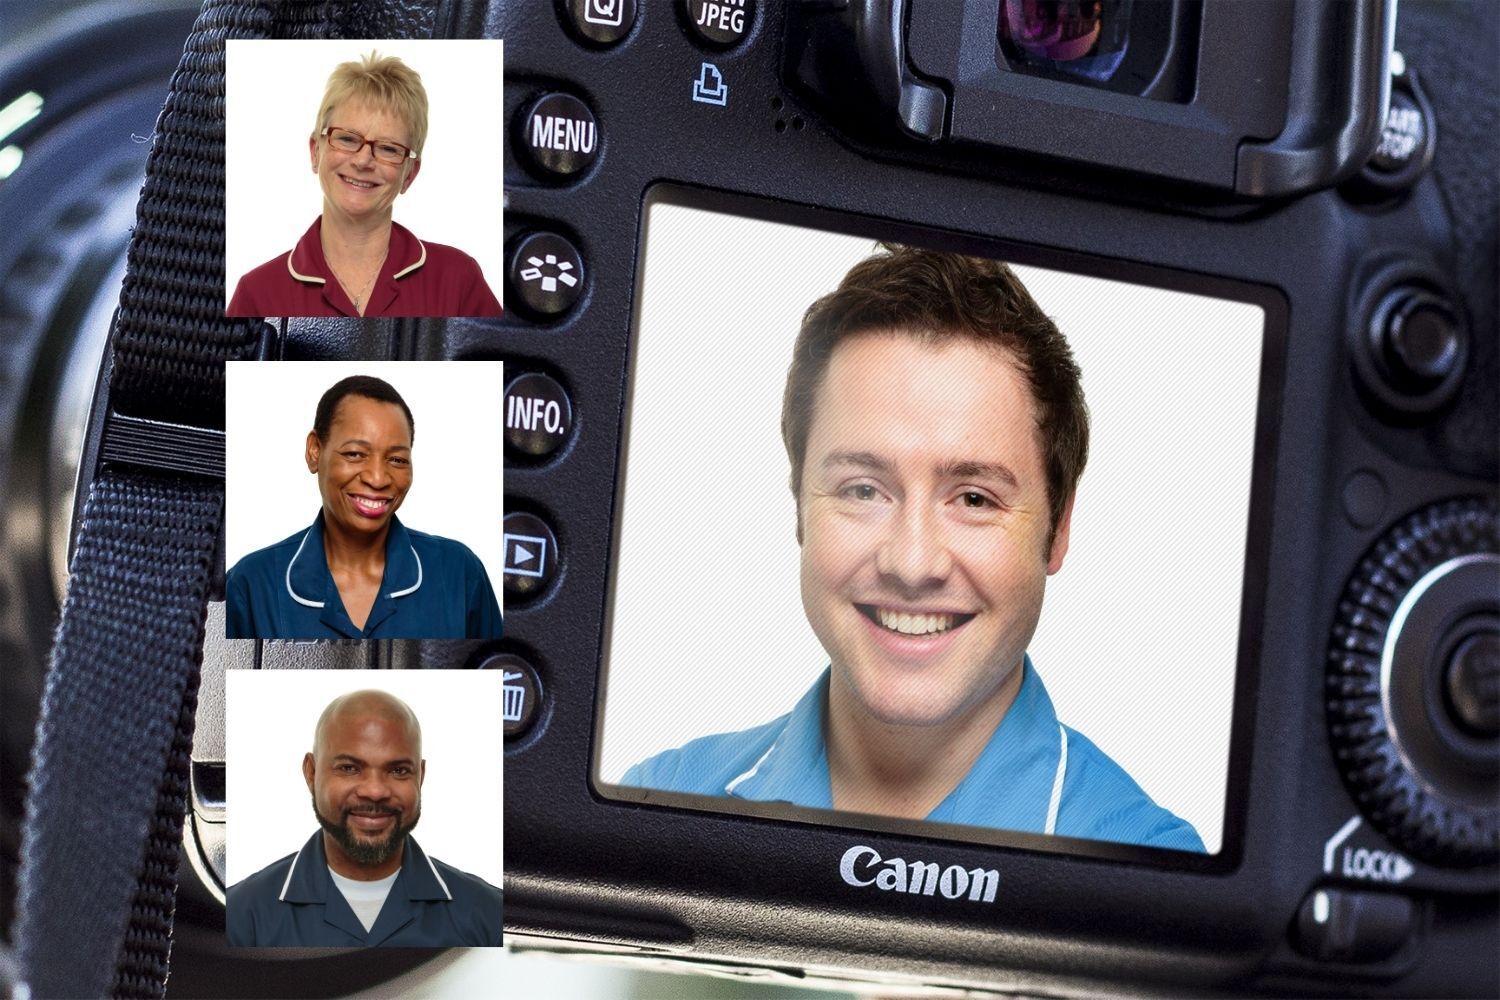
Step 3: Photograph the Subject
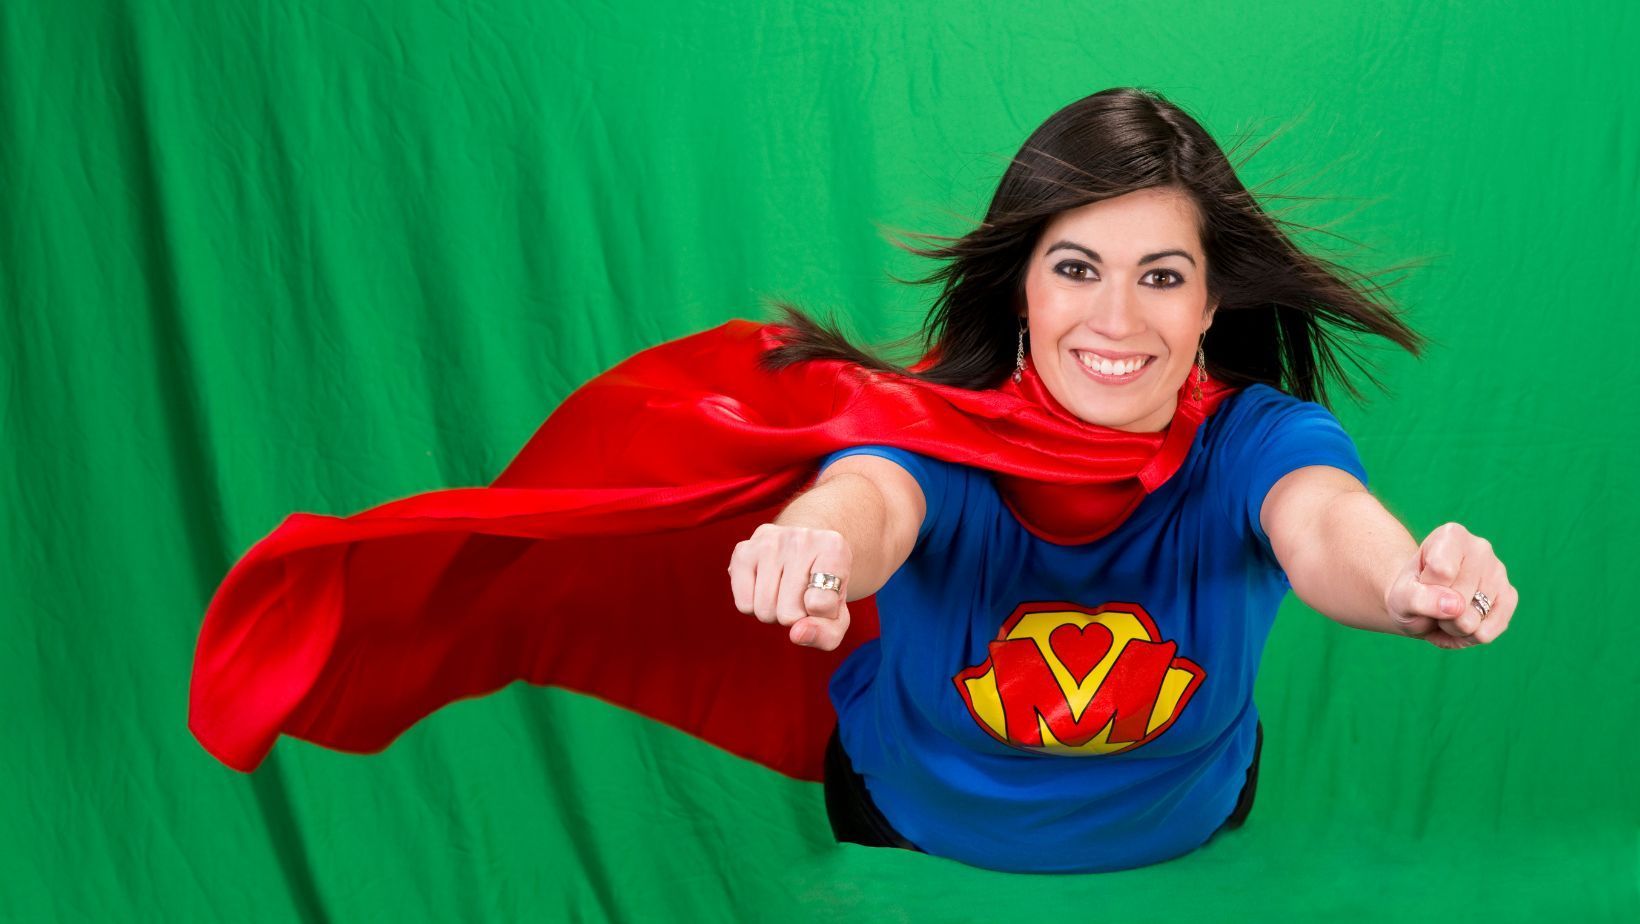
In green screen photography, the photographer sets up a large backdrop of solid colour (usually green) in order to isolate the subject from their background environment. The subject then poses against this green backdrop, which can be as simple or as elaborate as desired. The photographer then takes multiple shots at different angles while adjusting lighting and exposure settings until they get the perfect shot.
Step 4: Edit the Images
With the right software and techniques, you can easily edit your green screen photos to create beautiful images. Editing green screen photos requires specialized software that will allow you to manipulate the background and foreground elements of your image. There are many tools available on the market today that will help you achieve professional-level results with minimal effort. Software such as Photoshop, Lightroom, GIMP or CorelDRAW can all be used to edit green screen photos with ease.
Additionally, there are various online tutorials available that provide step-by-step instructions for editing photos in each program. For events, you may need to look into specialist software which can edit the photos instantly, especially for fast-paced events. When it comes to green screen photography and editing, practice makes perfect! Experimenting with different tools and techniques is a great way to learn how to master this type of photography.
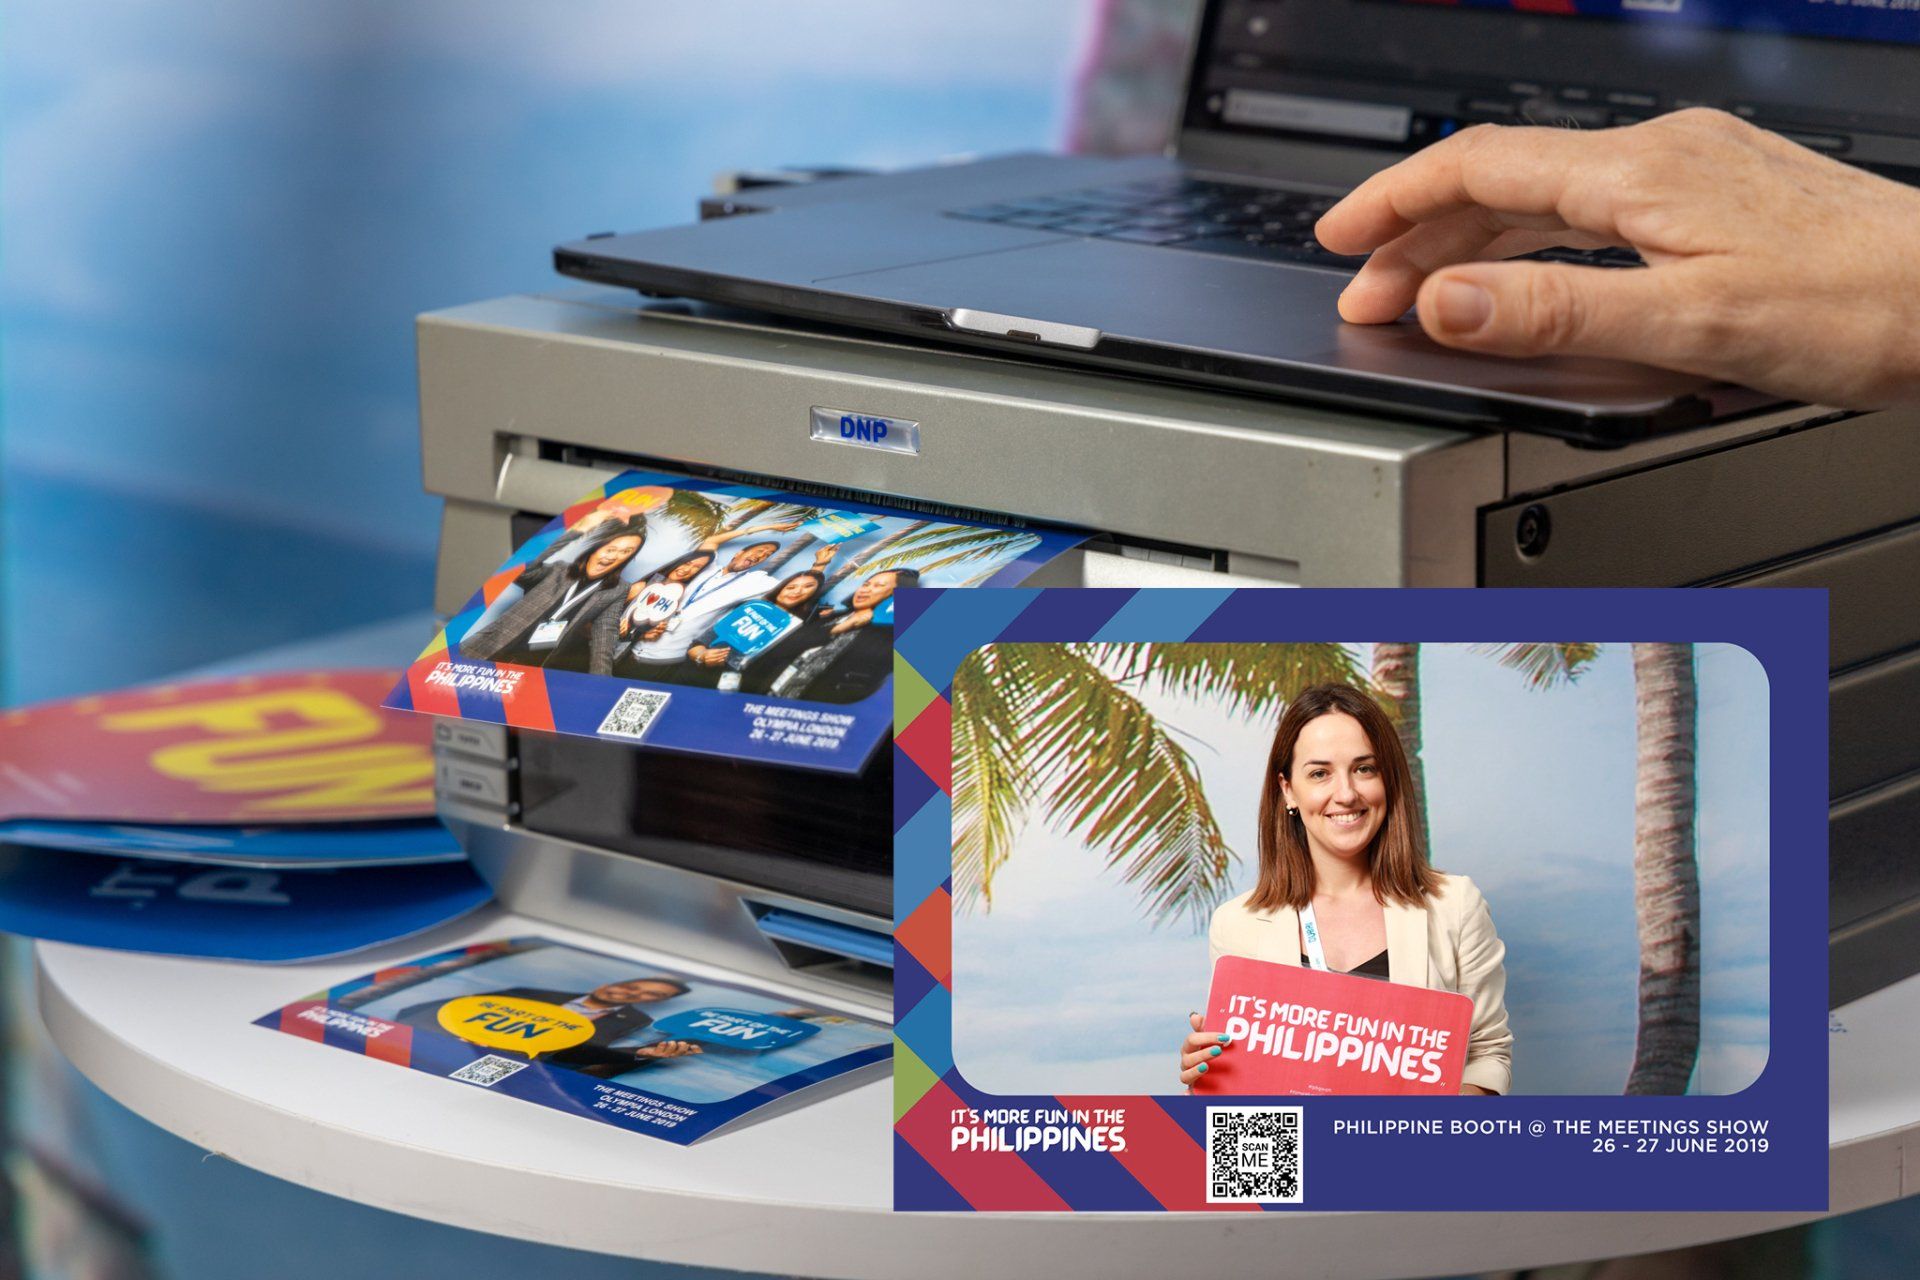
Step 5: Add Special Effects
Enhance the images further, by adding extra layers of graphics, overlays or branding to the images before sharing or printing the final results. Green screen photography is easy when you have the right technology and experience. Lifetime brings this to your event to provide the best smoothest green screen photography experience.
In conclusion
Having a green screen at an event can be a great way to capture memories and make the experience more enjoyable for guests. Not only can they take home tangible memories, but they can also have fun in front of the camera. Having a professional photographer to take photos on the green screen is key in getting quality photos, as well as making sure the process runs smoothly. Green screens are great for events of all sizes, from smaller private parties to large public gatherings.
Jan 11, 2023New Paragraph


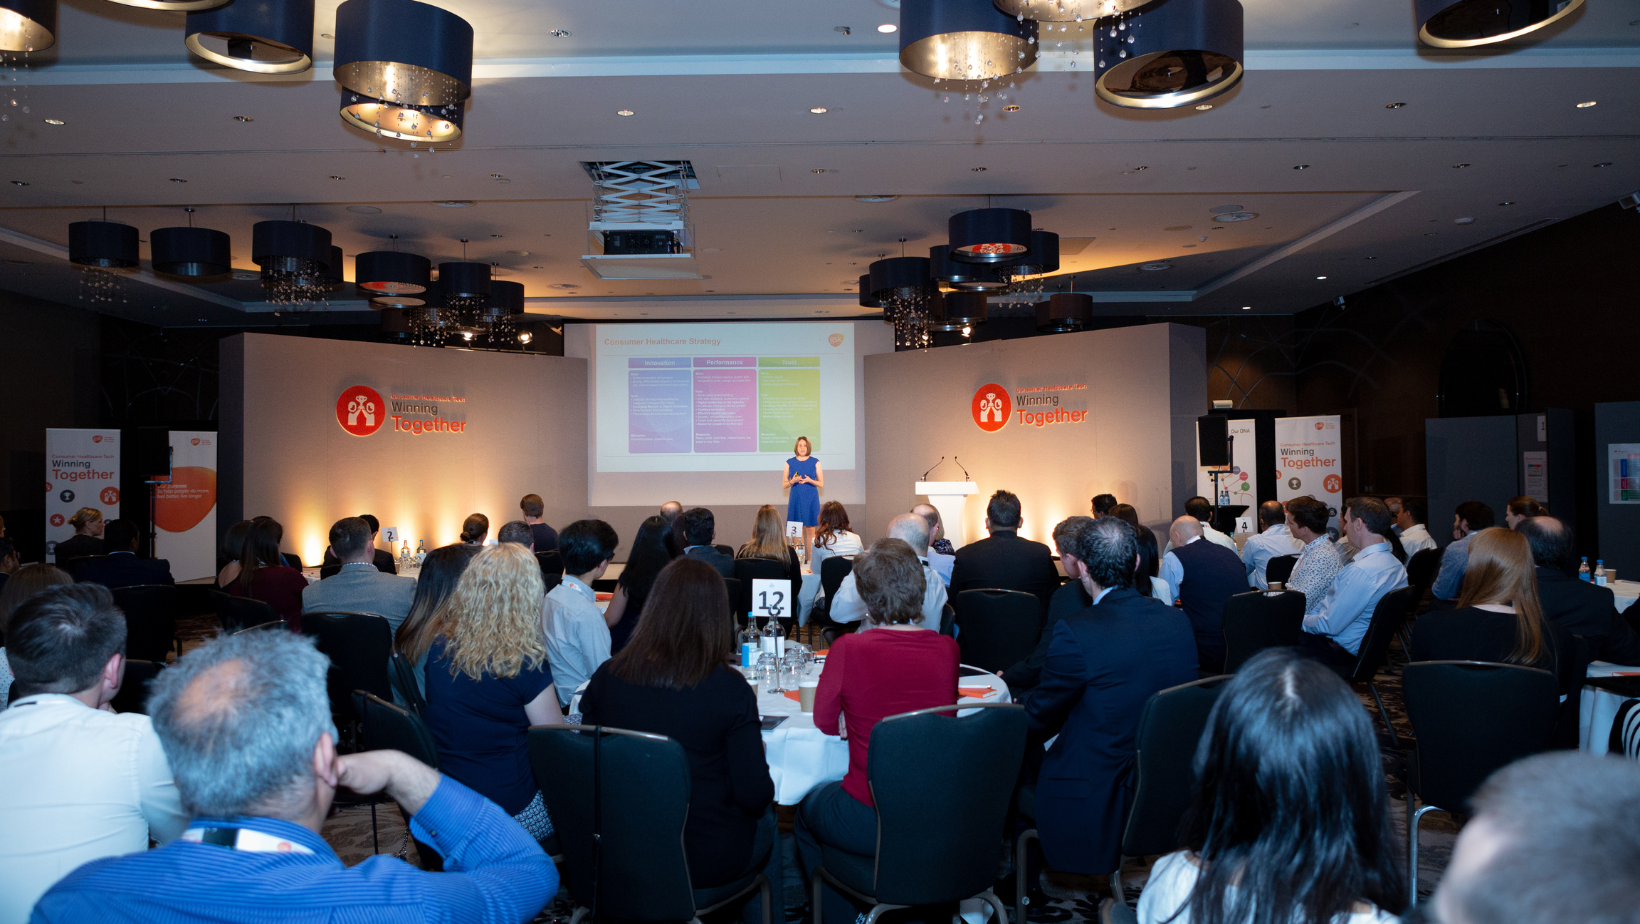


Ghelani Studios is based in London, United Kingdom.At Ghelani Studios, we understand the importance of corporate events and how they can shape the image of your company.
Menu
Address: Ghelani Studios
Manor Farm Road, London, HA0 1BN
UNITED KINGDOM
Phone No.: 0208 088 2648
Email: hello@ghelanistudios.com.com
Services


Privacy Policy . Terms & Conditions . Cookies Policy | Website Design by Digital Inspired | © 2023 All Rights Reserved | Ghelani Studios